I'll be demonstrating spinning this Sunday in the farmhouse at Case-Barlow Farm's Fall Harvest Fest. If you're in Hudson, Ohio this Sunday, Oct. 2nd, drop on by!
Here are links to pictures of the farmhouse and the barn.
Now I've got to go wash some wool so that I have something to spin.
Wednesday, September 28, 2011
Sunday, September 25, 2011
Late-season harvest
Garden production is winding down. I still have a few tomatoes ripening, and there are still a few greenbeans to be had, but the peppers will soon be finished, and there is less and less to pick each time I go out to gather things.
My sunflowers are just now becoming ready for harvest. I cut two big heads from my far away garden today and brought them home. I grew two varieties, Mongolian Giant, and Titan:

There are still many heads out in the garden. I got the seeds out of these, rinsed them quickly, tossed them with some sea salt, and roasted them.
Here's what else the gardens gave me today. I'm afraid that's the last of the okra. This time of year, the deer will eat it to the ground, even if it wants to keep producing. They really like the okra. And beets. My beets had a hard time this year because of the deer, notice that there aren't any in the pic:

My gardens are never especially heavy producers, but I enjoy the process, and cooking with whatever fresh things they want to give me. During the winter, we'll continue enjoying things that we've either frozen or dried.
And as far as the herb gardens go, I still have a lot of holy basil to gather and dry, elecampane and evening primrose roots to dig, probably some lemon balm, too, and, of course, there's always peppermint. Lost of things on the drying racks are waiting to be put into airtight jars, and I have oils to infuse and tinctures in various stages of processing. So there is still work to be done.
Thursday, September 22, 2011
Bison Chili
We've been enjoying Bison chili a lot over the past several weeks. One thing I like to make with the peppers and tomatoes from the garden is chili.
Early on in the season, when I didn't have enough ripe tomatoes of my own, I made a trip to the farmer's market to buy some so that I could make a batch of chili up with some ground beef I had in my freezer. While there, I happened to stroll by a booth where a man was selling locally raised, grass-fed bison meat. I decided to try making the chili with ground bison instead of my ground beef.
My whole family loved it. My son and daughter have said that they think it's the best chili they've ever eaten. So I've been making bison chili now. I use heirloom tomatoes, peppers, and garlic from my garden, and onions and ground bison from the farmer's market. The beans I buy in cans from the grocery store.
It's so fun to walk out to the garden, fill a basket with tomatoes and peppers, and then walk back inside and put it all into a pot along with the cooked ground bison, onion and beans for a flavor-rich dinner.
Yum.
Friday, September 16, 2011
Dyeing with cleavers root and pokeberries
Yesterday was dyeing day. It was a lot of trouble for just over 3 ounces of wool, but it was good to learn the process for these particular dyestuffs (cleavers root and pokeberries), and to see the resultant colors. (My previous post is about gathering the roots and the berries, if you're interested.)
Dyeing with cleavers roots:
My process isn't well documented photographically because I did the cleavers alone in the morning before my daughter was able to come and help, but here's what I did:
I let roots soak overnight. In the morning I blended the roots up with un-softened well water from our outside tap. I read that hard water helps with the color. I put the blended roots in the dye pot along with more well water and heated it gently for an hour.
When dyeing with cleavers, it's very important to regulate the temperature. I read that over about 140 or 150 degrees F, the color will start to move from reds, toward the brown shades. To keep it in the red range, the process shouldn't go over 180 degrees F. One source said that the best reds are obtained at about 140 degrees. It was hard to find the sweet spot with my electric stovetop, so while making my dye bath, the temp at one point reached about 178 degrees F. I did eventually find how to keep it lower.
While the roots were steeping, I mordanted my wool. I had 4 ounces of cleavers roots, so with a ratio of 2:1 of roots to wool, I measured out 2 ounces of wool (which happened to be superwash Bluefaced Leicester). I added 1/2 teaspoon alum powder and 1/4 teaspoon cream of tartar to another pot of well water and gently steeped the wool in it for about 40 minutes.
When the roots had heated for an hour, I strained them out and then added the mordanted wool to the dye bath. I let the wool steep between 150 and 160 degrees for an hour. After that hour, I let the wool cool in the pot, then rinsed it until the water ran clear, with one of the changes of water a bit soapy.
The wool came out a very pretty salmon color (the picture doesn't do it justice); here it is after rinsing:

Cleavers is very much like madder apparently, and depending on the quality of the roots, the concentration of the dye bath, the temperature, water hardness, etc, your resultant color can range anywhere from orange-ish, to salmon, to a nice red, to brick red, to various browns. I got a very pretty salmon with which I am very happy.
On to the next.
Dyeing with pokeberries:
My daughter showed up to help with this batch, so it's got lots of pictures.
First, a word about dyeing with pokeberries. It isn't usually done because the color doesn't last; it fades very quickly. This is a new method of dyeing with pokeberries that I came across in this book. The woman who discovered the process has yarns dyed with pokeberries that are ten years old and still vibrant and beautiful. Beautiful is the operative word. The color obtained from pokeberries is absolutely amazing.
My daughter and I gathered about two pounds of pokeberries. The ratio of pokeberries to wool is very high, 25:1. This meant that I could only dye a little over one ounce of wool. Disappointing, I know, but I'm hoping to plant pokebushes next year so that I can have my very own berries to harvest, hopefully in larger quantities.
A word of caution: pokeberries are poisonous, don't eat them.
So, first we stripped the berries from the stalks:

And then proceeded to mash them all up:

It's best to wear gloves for this part:

Only, make sure you don't have a hole somewhere:

This method of dyeing with pokeberries uses vinegar as a mordant, and vinegar is added to the pot while making the dye bath.
Cover your berries with water, making sure you have enough to let your wool swim freely. For each gallon of water used, add 1/2 cup vinegar. I added a total of one gallon of water to my berries, so I put 1/2 cup vinegar in the pot with it.
This is another material which is temperature-sensitive. Keep the temperature between 160 degrees and 180 degrees F. If there is any bubbling or boiling, the color will be ruined. After the cleavers, I had a handle on keeping the temp where I wanted it.
Here are the berries stewing in the pot. I skimmed that foam off; it didn't disappear and I didn't want it there when I put the wool in:

The berries steeped for an hour. While they were doing their thing, I mordanted the wool by adding about 1/4 cup of vinegar for my just-over 1 ounce of wool to a pot of water. I steeped the wool in the vinegar water for about 40 minutes.
When the berries had finished steeping, I strained them out and then added the mordanted wool to the dye bath. The wool stewed in the dye bath for 2 hours. I kept the temp between 160 and 170 degrees the whole time:

When the two hours was up, I put the lid on the pot, took it off the heat, and let it sit overnight. In the morning I rinsed the wool. Have you ever seen such a wonderful color? And from a natural dye!:

I love it! Totally worth all the effort.
Here are the two colors from the two different dyestuffs hanging to dry, pokeberry on the left, cleavers on the right (click any picture to see it bigger):

I can hardly wait to spin these up. For these colors I will definitely go through he whole process again (only next time, I'll try to leave out the part about getting poison ivy).
Thursday, September 15, 2011
Gathering natural dyestuff - or - The adventure in which I get poison ivy
I've been up to more dyeing. The other day, I gathered more marigolds from the garden along with some wild goldenrod, and threw the flowers into the dye pot along with some onion skins and some marjoram from the herb garden. All of these things make yellow. Here's the hodgepodge in the dye pot:

It dyed my superwash BFL roving a nice goldish-yellow.
Yesterday, my daughter and I went on a little adventure to gather more dyestuff. I've been dying (ha!) to get out to a place I know where a ton of cleavers grows. Cleavers is related to madder, and like madder, cleavers roots will make a red dye.
So, off we went, bushwhacking our way through waist-high brush and brambles. The dog was smarter and took off on his own. We learned that he found the deer trail right away that we had been hoping to run across. Next time we'll follow the dog.
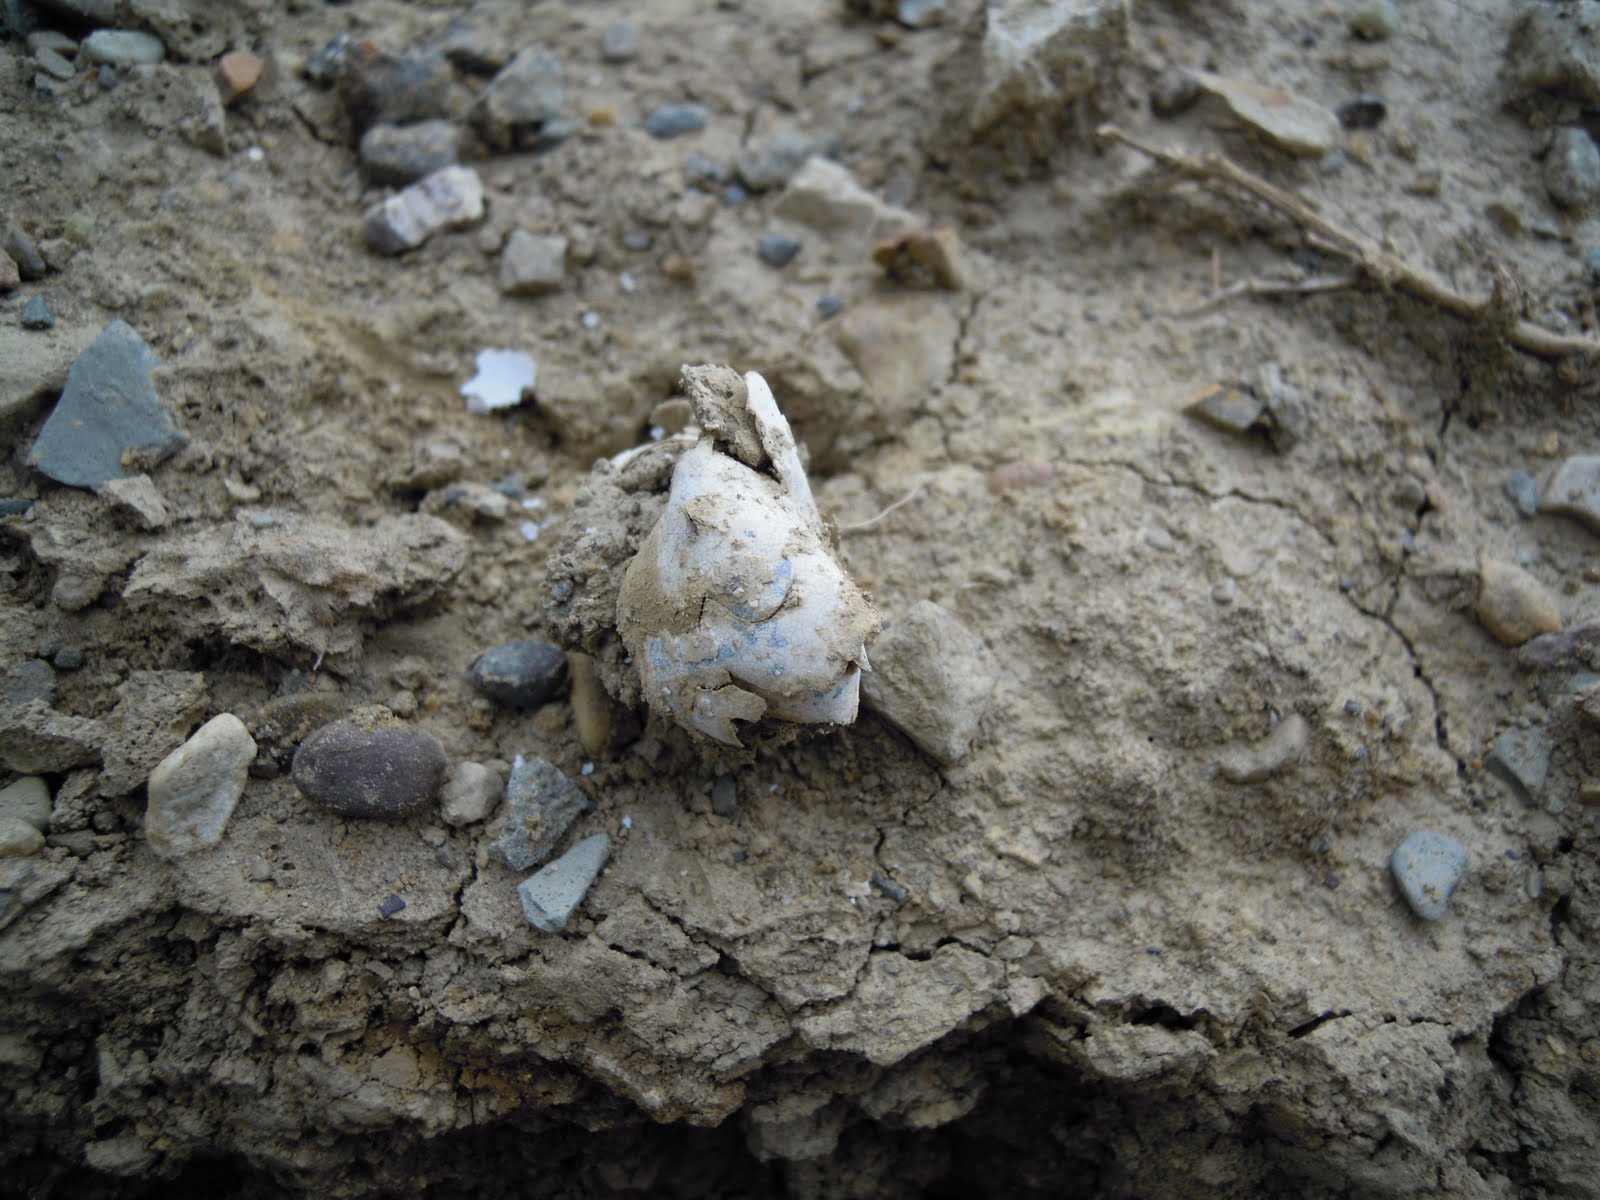
While crossing the railroad tracks, my daughter spotted some sort of buried egg nest that had been dug up by a coyote (we found dung nearby). The round, leathery eggs had been eaten. We guess they were tortoise or snake - anyone out there care to take a guess? Some of the eggs seemed to have bluish speckles, but that may have been something other than speckles.
Here's the dug-up nest:

A close-up of one of the egg remains:
Anyhoo, we did eventually reach the cleavers. Digging cleavers is hard going. It's hard to find a clump of cleavers that will yield a substantial root. And interspersed amongst the cleavers was poison ivy. We tried to be careful, and we washed with Tecnu poison ivy scrub when we got home, but I woke up with poison ivy on my forearms this morning. Good thing I make the best ever poison ivy itch relief spray.
When we got back home, I sprayed the dirt off of the roots with the garden hose outside. Here's a nice root:

And here's our clump of roots, all washed and ready for soaking. You can see how they're reddish in color:

We gathered about 4 ounces. I was hoping to get at least 8 ounces, but we decided to cut the gathering short when we began to feel raindrops. I'm hoping the 4 ounces of roots will dye at least two ounces of wool.
Our gathering wasn't done for the day, however. My daughter knew where we could gather a good amount of pokeberries. I've recently read about a method to make a really nice reddish dye using these berries (which are poisonous, so no eating!) using vinegar as a mordant. I've been wanting to try it, so off we went to gather pokeberries before the sun set.
We gathered about two pounds of berries. Amazingly, this will only dye about one ounce of wool. The ratio of dyestuff to wool for pokeberries using this method is high - 25:1. Here's a peek into one of our bags of berries:

Today I'll be busy dyeing.
We also found a patch of blooming tickseed flowers on our wanderings. Tickseed flowers are yellow, but make a pretty, orange dye. We may go back for those. Not sure yet. I'll be busy enough today as it is.
Sunday, September 4, 2011
Dyeing wool with marigolds
I have a multitude of marigolds blooming in my faraway garden. I planted them in hopes of using them as dyestuff. So today I walked out to my community garden plot to harvest marigolds. I came back with a large basketful.
I measured out about 12 ounces of marigold flowerheads. I put them in a pot and covered them generously with water. I read that marigolds make an intense dye bath, so I wasn't particularly worried about it being too diluted.
I simmered the marigolds for about 30 to 40 minutes (click on any picture to see it larger, then click back arrow to return to blog):

While the dye bath was simmering, I mordanted my wool. I measured out 4 ounces of superwash Bluefaced Leicester roving, and also grabbed a handful of rolags I had lying around, some from my Christmas fleece (a local wool of unkown type, given to me last Christmas), and some made from Cotswold sheep fiber that I have.
Mordanting about 4 ounces of wool meant measuring about 1 tablespoon of alum powder and one teaspoon of cream of tarter into a pot of water, bringing it to a simmer, adding the wool, and simmering for about 30 minutes.
After the marigolds had finished simmering in the dye bath, I strained them out:

I had lots of leftovers which didn't make it to the dye bath, so I'm freezing them for later use. Here they are laid out on a pan in the freezer, ready to turn all frozy:

With the wool mordanted, and the dye bath ready, I plunked the mordanted wool into the dye bath. I simmered the wool in the dye bath for about 30 minutes:

When the wool was done simmering, I took it out of the dye bath and let it cool to room temp. Then I rinsed it and hung it to dry:

The two rolags on the far left are the Cotswold wool, next comes a few rolags from my Christmas fleece , and the looped-several-times-over-the-bar stuff is the superwash BFL. I've found so far that superwash BFL takes natural dyes up really nicely into slighty richer colors than other things in the same dye pot.
Rolags (fiber carded with hand cards and then rolled off for spinning) are probably not the best form in which to dye fibers, but I mostly did it to see how the Christmas fleece and the Cotswold would take up the dye. It hasn't dried yet, but I think the superwash BFL is my favorite, followed by the Cotswold, and then the Christmas Fleece.
Subscribe to:
Posts (Atom)


